
If your garbage disposal is leaking, jammed, or showing signs of wear, it may be time for a replacement. In this guide, I’ll show you exactly how to replace a garbage disposal with easy, step-by-step instructions you can tackle yourself.
Note: I originally published this post in 2018, but I’m re-sharing it now because the information is incredibly helpful! I updated all links and info to make it an even better resource for you.
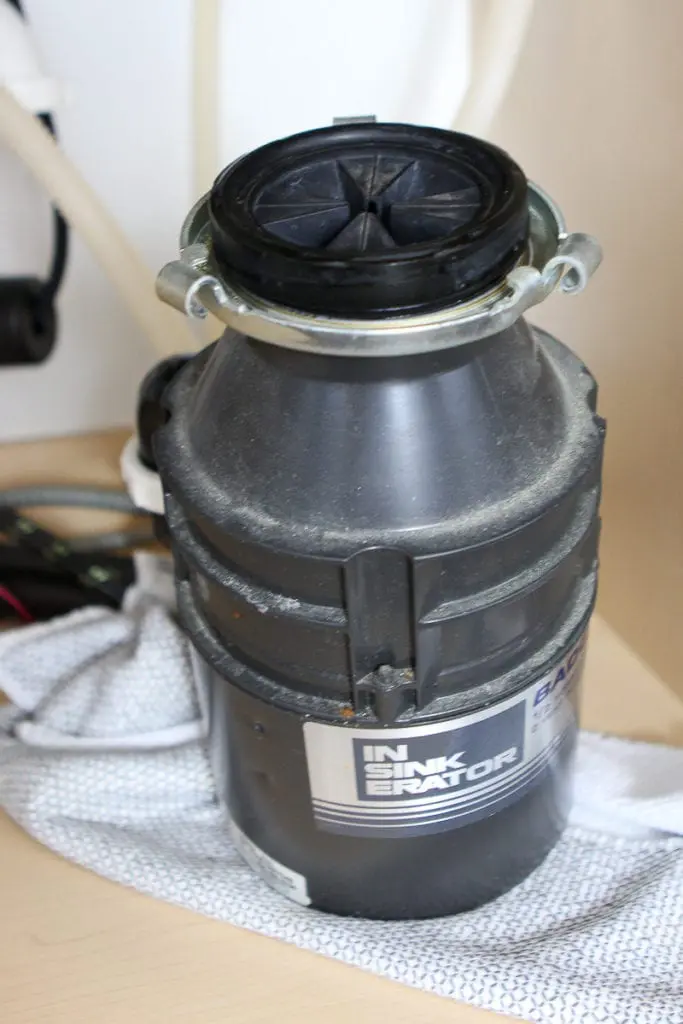
A few weeks ago, I got a text from Finn that said we had a puddle of water underneath the kitchen sink. Ugh. Not the best text message to receive. After investigating further, we realized that the water was dripping from our garbage disposal. I figured that it might just be a loose pipe, but it was actually coming from the base of the old unit. A nice slow drip. I did a bit of research online and learned that if the disposal housing is leaking, it probably needs to be replaced altogether.
Ours was 13 years old, and the typical lifespan of a garbage disposal is about 10–12 years, so it was official – we needed a new one.
I took a look at my week ahead and saw I was pretty slammed with projects, so I headed to Angie’s List to find a plumber to fix this issue quickly. I found a plumber, but he couldn’t come out for about 4 days and he was going to charge me $320. ($120 for the new disposal and $200 for labor)
That’s when I decided I should just DIY this project and figure it out myself. Because if I was going to have to wait a few days and shell out that much money, I might as well give this project a shot in the meantime.  Spoiler alert: This project was WAY easier than I thought it would be. I blocked off four hours on my calendar, but the entire garbage disposal replacement took just about an hour.
Project At A Glance:
| Difficulty: ️ ️ of 5 | Time: 1 hour |
| Supplies needed: New garbage disposal (this is the one I purchased) Bucket Towels |
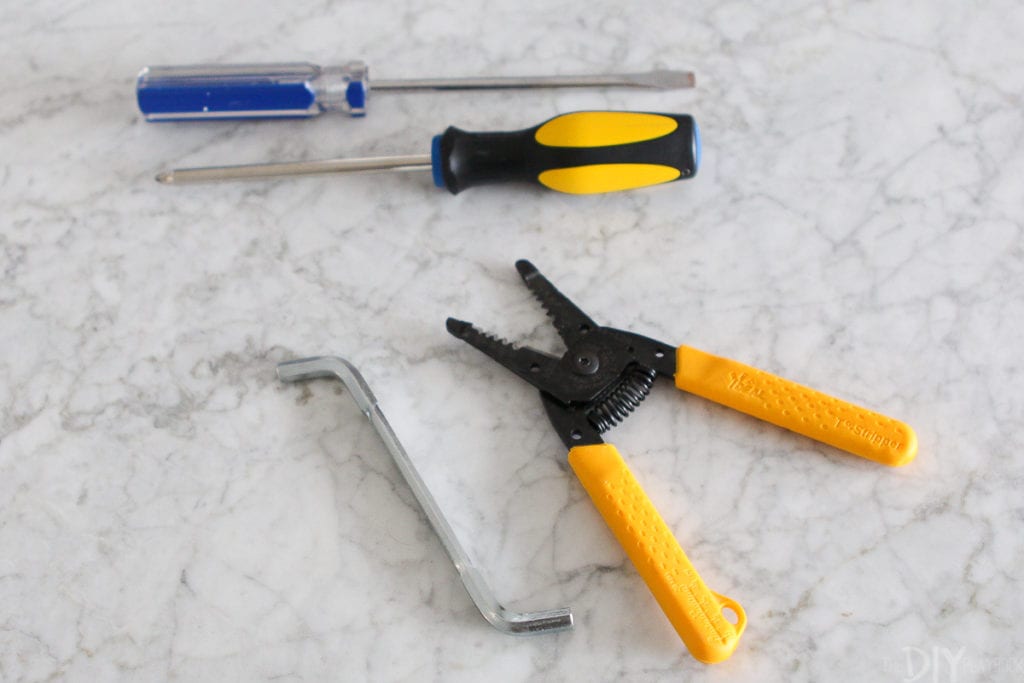
Tools needed: Wire Cutters Screwdriver (flat head & Philips) Wrenchette (should come with the new disposal) Adjustable Pliers |
How to Replace a Garbage Disposal (Step-by-Step)
Important note: This is a replacement tutorial, not a full garbage disposal installation. If you don’t already have a power supply and wiring under your kitchen sink, that’s a job for a professional plumber or electrician. Here, I’m simply swapping out my old unit for a new disposer. If you’re doing the same, follow these easy steps.
Step 1: Buy a New Garbage Disposal

Before I headed to Lowe’s, I snapped a few pictures of my broken garbage disposal. When buying a new one, you’ll need to match the horsepower on the old one. My old one was a 1/2HP, so that’s why I ended up going with this new InSinkErator garbage disposal.
Step 2: Turn Off the Power at the Circuit Breaker
The very first thing I did was head to our electrical panel and flip the switch for the garbage disposal. Even though there’s a wall switch
Leave a Reply